
Piece of Cake: Cake pops
September 1, 2015
Even though running a blog with my older sister has its benefits, I’ve found that I rarely get the opportunity to post something that pertains to my interests more than hers. Sorry, Miranda. So, for the rest of the year you all are stuck with my recipes and excited foodie moments. Take these cake pops, for example. Or as I like to call them, Jag Pops.
Now, cake pops started getting popular in about 2011 (wait, was that actually four years ago?), but I didn’t make my first batch until last year, and the batch I made this weekend was only my second batch … whoops. But, that’s good news for you. That just proves how easy it actually is to make cake pops, as long as you make them correctly.
Of course, this is a recipe that can be tweaked in different places. You don’t have to do blue and silver- you could do a different type of cake or frosting. You could also make the cake and/or frosting from scratch. I usually would do everything from scratch, but, for the sake of beginners, I decided to start easy.
So enough chit chat, here’s the good stuff.
Here’s what you’ll need:
- 1 baked cake (I used Ducan Hines Blue Velvet)
- 1 tub of white frosting (any brand will work)
- 1 Bag candy melts (I used navy blue ones, you could use just plain chocolate as well)
- Sprinkles (optional)
- 30 Lollipop sticks
- 1-2 Styrofoam block(s)
- 2 Cups and bowls for melting and dipping
- A baking pan lined with parchment paper
Here’s the fun part:
- Take your cake and use a fork, or your hands, to tear it apart until it’s a pile of crumbs.
- Add 1-3 tablespoons of frosting to the crumbs and mix until you can squish the crumbs together and they hold. I ended up using about 2 1/2 tablespoons in mine.
- Once your crumbs and frosting are all mixed up, use either your hands or a small ice cream scoop to make even-sized balls and place them on your lined baking pan. If you use an ice cream scoop, make sure to roll the cake in your hands after scooping it and press it together so it won’t fall apart later.
- When you’ve used up all your cake (I got about 27 cake balls from mine), pop the pan into the fridge and keep the cake balls in there overnight. If you don’t want to wait that long, put them into the freezer for an hour or two instead. Just make sure that the cake balls are cold all the way through and don’t dent them significantly when you pick them up.
- Now that you’ve waited patiently for your cake balls to get cold (or tried to, at least), you can get to dipping. Melt your candy melts or chocolate in a bowl or tall glass in a microwave in 25 second bursts, making sure to stir in between bursts.
- Prep your styrofoam blocks ahead of time by poking holes into them with your lollipop sticks. It’ll make putting the cake pops on there easier later.
- Set up an assembly line for the dipping and decorating process with your needed items in this order: lollipop sticks, melted chocolate, sprinkles and styrofoam block(s).
- Dip one of your lollipop sticks about a centimeter into the chocolate and then the chocolate-dipped end into one of the cake balls. Make sure you don’t poke it all the way through.
- Now that the piece of cake (see what I did there?) is on the stick, dip the entire ball into the chocolate so that you can’t see any of the cake.
- Gently tap the stick on the edge of your glass or bowl to get rid of the excess chocolate, then dip the cake pop into the sprinkles while it’s still wet. Transfer the completed cake pop to one of the styrofoam blocks.
- Repeat with the rest of the cake balls and then you’re done.
Here are some tips:
- When dipping your pops, take one piece of cake out at a time and keep the rest in the freezer so they stay cold.
- Make sure you have everything ahead of time. Trust me, there’s been so many times I haven’t done this and then halfway through realized I didn’t have enough eggs for a recipe or didn’t have something I needed altogether.
- Read through your recipe ahead of time, too. There might be things in it that you need that weren’t listed with ingredients.
And that’s that. Now go home and freak your family out with your amazing baking skills, fellow foodies.
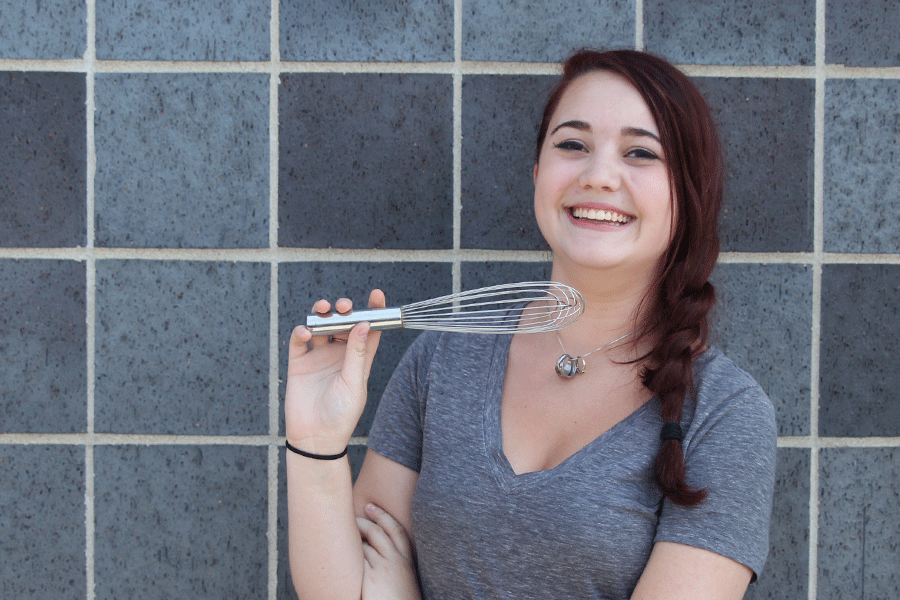
Junior Laken Wagner has been spending time in the kitchen since she was five years old, where both baking and cooking have always filled her extra time. She enjoys baking more than anything else and can frequently be found decorating cakes or trying out new recipes.